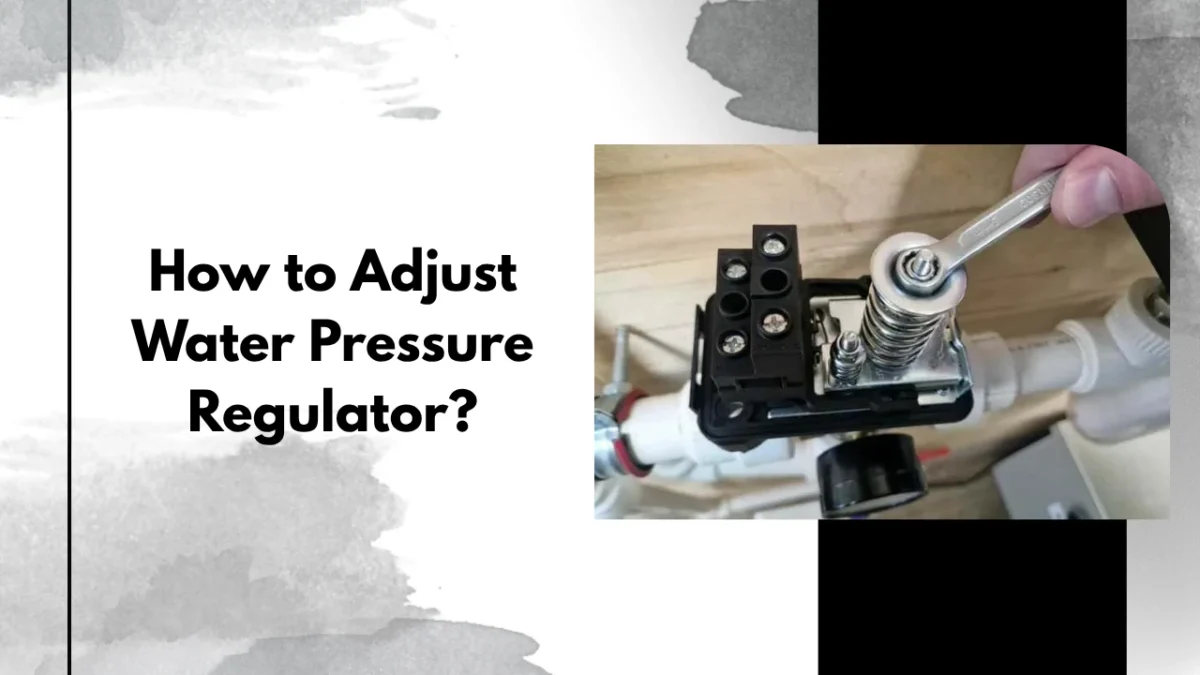
Hello guys, welcome back to my blog. Today I am going to tell you about how to adjust water pressure regulator, because this is one job that looks scary at first but is actually pretty simple once you know the steps. I read a lot of real experience shared by homeowners and plumbers on Reddit, and I mixed that with some facts from trusted sources, so this guide should cover everything you need.
If your shower feels too weak, or on the other hand your pipes are banging like someone is knocking, both problems can come back to one small part hiding near your main water line. That part is your pressure regulator, also called a PRV (pressure reducing valve). Let me explain everything in simple words.
What Is a Water Pressure Regulator, Quick Facts
Before we go into steps, let me give you a quick table. I always like tables because you can see everything at one glance without reading long paragraphs.
| Fact | Detail |
|---|---|
| What it does | Reduces high street water pressure to a safe level for your home |
| Ideal home water pressure | 45 to 60 psi, according to the EPA’s water pressure guidance |
| When code requires a regulator | Most plumbing codes need one if supply pressure goes above 80 psi |
| Turn clockwise | Increases pressure |
| Turn counter-clockwise | Decreases pressure |
| Basic tools needed | Wrench, flathead screwdriver, water pressure gauge |
| Average replacement cost (if too old to adjust) | $200 to $700, says Angi’s cost guide |
I think this table alone answers half the questions people have, but let me still explain each part properly below.
Signs You Need to Adjust Your Regulator
You don’t need to touch this part every day. Most regulators just sit quietly and do their job for years. But there are few signs that tell you it’s time to check and maybe adjust it.
If water pressure feels weak in the shower or kitchen tap, that is one sign. If pipes make loud banging noise when you close a tap fast, that is another one, and this is called water hammer. Sometimes pressure also keeps changing on its own, going high then low, which usually means the part inside is getting old.
A Redditor on r/Plumbing gave a very honest answer when someone asked about this, saying you should be backing the adjustment screw out to lower the pressure if pressure is too high. I like this answer because it is direct and it is exactly what a real plumber would say, no extra fluff.
Tools You Need Before Starting
You don’t need a full tool box for this job, if you ask me. Just few basic things.
- Adjustable wrench, to loosen and tighten the locknut
- Flathead screwdriver, for the adjustment screw on most models
- Water pressure gauge, this one is very important, don’t skip it
- Old towel or bucket, just in case little water drips out
For the gauge, you don’t need anything fancy. Same Redditor I mentioned above added that Home Depot sells a small gauge that screws onto a hose bib for about 10 bucks, and honestly that is all you need for this job. No need to buy an expensive digital one.
Step-by-Step: Adjusting Your Water Pressure Regulator
Now let’s get to the main part. This is exactly how to adjust water pressure regulator at home, in the right order.
- Step 1: Find your regulator, usually where main water line enters the house
- Step 2: Attach pressure gauge to nearest outside hose bib
- Step 3: Note down your current pressure reading
- Step 4: Loosen the locknut on top of the regulator with your wrench
- Step 5: Turn the screw clockwise for more pressure, counter-clockwise for less
- Step 6: Run water for few seconds, then check gauge again
- Step 7: Repeat small turns until you reach your target pressure
- Step 8: Hold the screw steady, tighten the locknut back
- Step 9: Check pressure one more time to confirm it holds
This basic idea is confirmed by This Old House’s guide on pressure reducing valves, where their plumbing expert Richard Trethewey explains it simply, that turning the screw counterclockwise lowers pressure and clockwise raises it. I think when even the big names explain it this simple, it really means the job is not that hard.
Homeowners on Reddit follow almost the exact same process. One comment explained you should undo the lock nut a little and use a flathead screwdriver to turn the screw clockwise to get more pressure, and another one summed it up nicely by saying counter clockwise is less pressure, clockwise is more. Same person also gave good advice to run some water and check the pressure between each small adjustment, instead of turning the screw a lot at once. I fully agree with this, slow and steady is always better with plumbing.
Once you get the number you want, don’t forget last step. That same commenter explained it well, saying you should put one wrench on the bolt to keep it from moving while you tighten the locknut, so the bolt stays locked in place. If you skip this, pressure can slowly drift again over time.
Mistakes to Avoid While Adjusting
I have seen few common mistakes people make, so let me list them here to save you some trouble.
Don’t turn the screw too much at one time. Small quarter turns are enough, then test again. Big turns can push pressure way too high before you even notice on the gauge.
Don’t forget the water heater part. The same This Old House guide I mentioned above also explains something I think a lot of DIY guides skip, that once you install a PRV, water can’t expand backward into the city supply like before, and pressure inside your system can build up to 150 psi or more if there is no expansion tank. So if your home has a regulator, make sure it also has a thermal expansion tank on the water heater, otherwise you are creating a bigger problem.
Also, if turning the screw does nothing at all, don’t keep forcing it. A Redditor pointed out that if your pressure is already at the max around 75 PSI, you don’t really want to bump it up more, and in that case the valve might be worn out or stuck, and adjusting further is not the answer, replacement is. If your low pressure problem is happening only in one fixture and not the whole house, the regulator might not even be the real cause, and Bob Vila has a good breakdown of other reasons for low water pressure worth checking first.
When Adjusting Is Not Enough
Sometimes you turn the screw, you check the gauge, and nothing changes. This usually means the diaphragm or spring inside is worn out, and no amount of adjusting a regulator can fix a broken part.
In that case, replacing the whole unit is the way to go. It’s not too crazy expensive if you ask me, average cost across the country is around $200 to $700 including labor for a standard size unit, same Angi data I mentioned in the table above. Bigger 1 inch units or hard to reach spots can cost more, but for most homes it stays in that basic range.
FAQ on Adjusting a Water Pressure Regulator
Q1: How do I know which way to turn the screw? Clockwise increases pressure, counter-clockwise decreases it. Always turn little bit at a time.
Q2: What is the ideal water pressure for a home? Most experts and the EPA say between 45 to 60 psi is the safe, comfortable range for a normal house.
Q3: Do I really need a pressure gauge to adjust it? Yes, 100%. Without a gauge you are basically guessing, and that can lead to pressure too high or too low.
Q4: Why does my pressure keep dropping back down after I adjust it? Probably you didn’t tighten the locknut properly, or the internal spring is old and getting weak.
Q5: Can I adjust the regulator myself, or should I call a plumber? Small adjustment is fine to do yourself if you are little bit handy. But if it needs full replacement, I always say call a licensed plumber for that.
Final Words
So guys, this was my simple guide on adjusting your water pressure regulator at home. I have tried to cover the tools, the exact steps, common mistakes, and also when adjusting is not enough and you need a replacement instead. None of this is very technical work, you just need a wrench, a cheap gauge, and little patience. Keep on visiting my blog for more simple home tips like this.
Sources
- EPA Service Water Pressure Guidance
- How to Install a Water Pressure Reducing Valve – This Old House
- Water Pressure Regulator Replacement Cost Guide – Angi
- What Causes Low Water Pressure In Your House – Bob Vila
- r/Plumbing – on backing out the screw to lower pressure
- r/Plumbing – on loosening locknut and turning screw
- r/Plumbing – on clockwise vs counter-clockwise and testing pressure
- r/Plumbing – on not exceeding max pressure